Smart Home Starter Guide: How to Automate Your Home on a Budget
Stop buying random smart gadgets that don't talk to each other. Here is a step-by-step roadmap to building an automated home from $150 to $500.
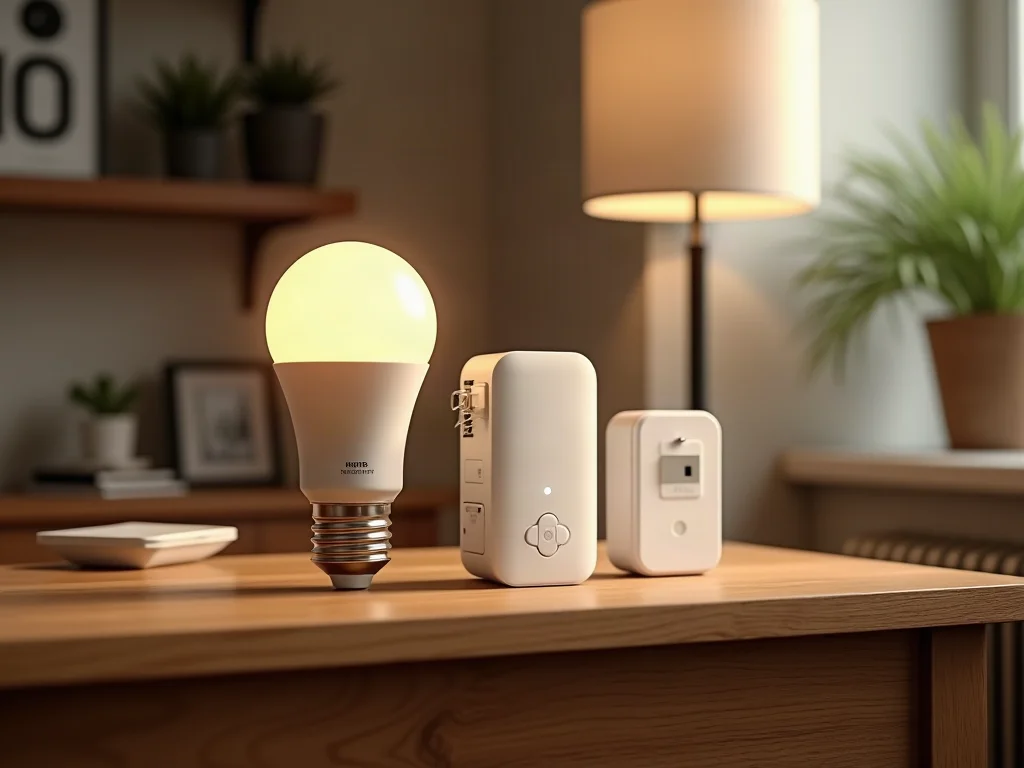
Most smart home journeys start with an impulse purchase: a discount smart bulb from an online sale or a cheap security camera from the grocery checkout aisle.
Six months later, you find yourself juggling five different mobile apps, dealing with unresponsive automations, and trying to explain to your family why the hallway light requires a smartphone app just to turn on.
[!IMPORTANT] Starter Roadmap Summary:
- Stage 1 ($80–$100): Anchor Hub (Apple HomePod mini, Amazon Echo 4th Gen, or Google Nest Hub Max).
- Stage 2 ($100–$200): High-impact upgrades (Energy monitoring plugs, tunable white bulbs, contact sensors).
- Stage 3 ($200–$500): Security expansion (Smart deadbolts & indoor privacy cameras).
Building a smart home that genuinely makes your life easier requires intentional planning. Here is the reliable 3-stage blueprint we recommend to every newcomer.
Stage 1: Choose Your Primary Ecosystem & Anchor Hub ($80 – $100)
Your central coordinator hub is the heart of your home automation system. It schedules automations, handles remote access when you are away from home, and acts as your voice assistant endpoint.
Pick ONE primary ecosystem to start with:
- Apple Home: Best for iPhone/Mac households who prioritize local data privacy and instant Apple Watch controls. Recommended anchor: Apple HomePod mini ($99).
- Amazon Alexa: Best for households wanting widest accessory compatibility and rich audio routines. Recommended anchor: Amazon Echo 4th Gen ($99).
- Google Home: Best for Android users and homes invested in Google Workspace or Nest Cameras. Recommended anchor: Google Nest Hub ($99).
Stage 2: Target High-Impact "Quality of Life" Upgrades ($100 – $200)
Do not try to automate every appliance on day one. Focus on the three areas with the highest daily return on investment:
1. Smart Plugs with Energy Monitoring
Put a smart plug on your living room floor lamps, coffee maker, or home theater equipment.
- Top Recommendation: TP-Link Kasa KP115 or Eve Energy.
- Best Automation: Schedule TV/entertainment gear to cut vampire power draw overnight.
2. Tunable Smart Bulbs
Replace the lamps in your living room and bedside tables with Matter-compatible tunable white bulbs.
- Top Recommendation: WiZ Smart A19 or Nanoleaf Essentials.
- Best Automation: Gradually warm the light color temperature at sunset to help your eyes relax before sleep.
3. Entry Contact Sensors
Place magnetic contact sensors on exterior doors.
- Top Recommendation: Eve Door & Window Sensor (Matter over Thread).
- Best Automation: Automatically turn on the entryway lights when the front door opens after 7:00 PM.
Stage 3: Expansion & Security Upgrades ($200 – $500)
Once your core hub and lighting are functioning smoothly, expand into high-value security additions:
- Smart Deadbolt: Keyless keypad and phone proximity auto-unlock (August Smart Lock or Yale Assure 2).
- Indoor Privacy Camera: Pet monitoring and entry surveillance with physical privacy shutters (TP-Link Tapo C210 or Ring Indoor).
Frequently Asked Questions (AEO Quick Reference)
What is the biggest mistake beginners make in smart home automation?
Buying accessories across incompatible wireless standards (e.g., mixing Wi-Fi, Bluetooth, and brand-locked proprietary bridges) without establishing a primary anchor hub first.
How much does a basic smart home setup cost?
A basic 1-room smart home setup (anchor hub + 2 smart plugs + 2 tunable bulbs + 1 contact sensor) costs between $150 and $200.
Plan Your Exact Budget with the Builder
Want to see an itemized shopping list tailored directly to your specific budget and priorities?
Try our interactive Smart Home Builder to calculate your ideal hardware balance in seconds!
Recommended Hardware for This Setup
Top-rated, verified smart home devices matching the recommendations in this guide.

Zemismart Matter Thread Zigbee Gateway with IR Control Smart Home Bridge Hub Sup...

BSEED EU Electrical Wifi Smart Socket Wall Plug With Power Monitor Timing Functi...
